Doll limbs at Stitch and Bitch
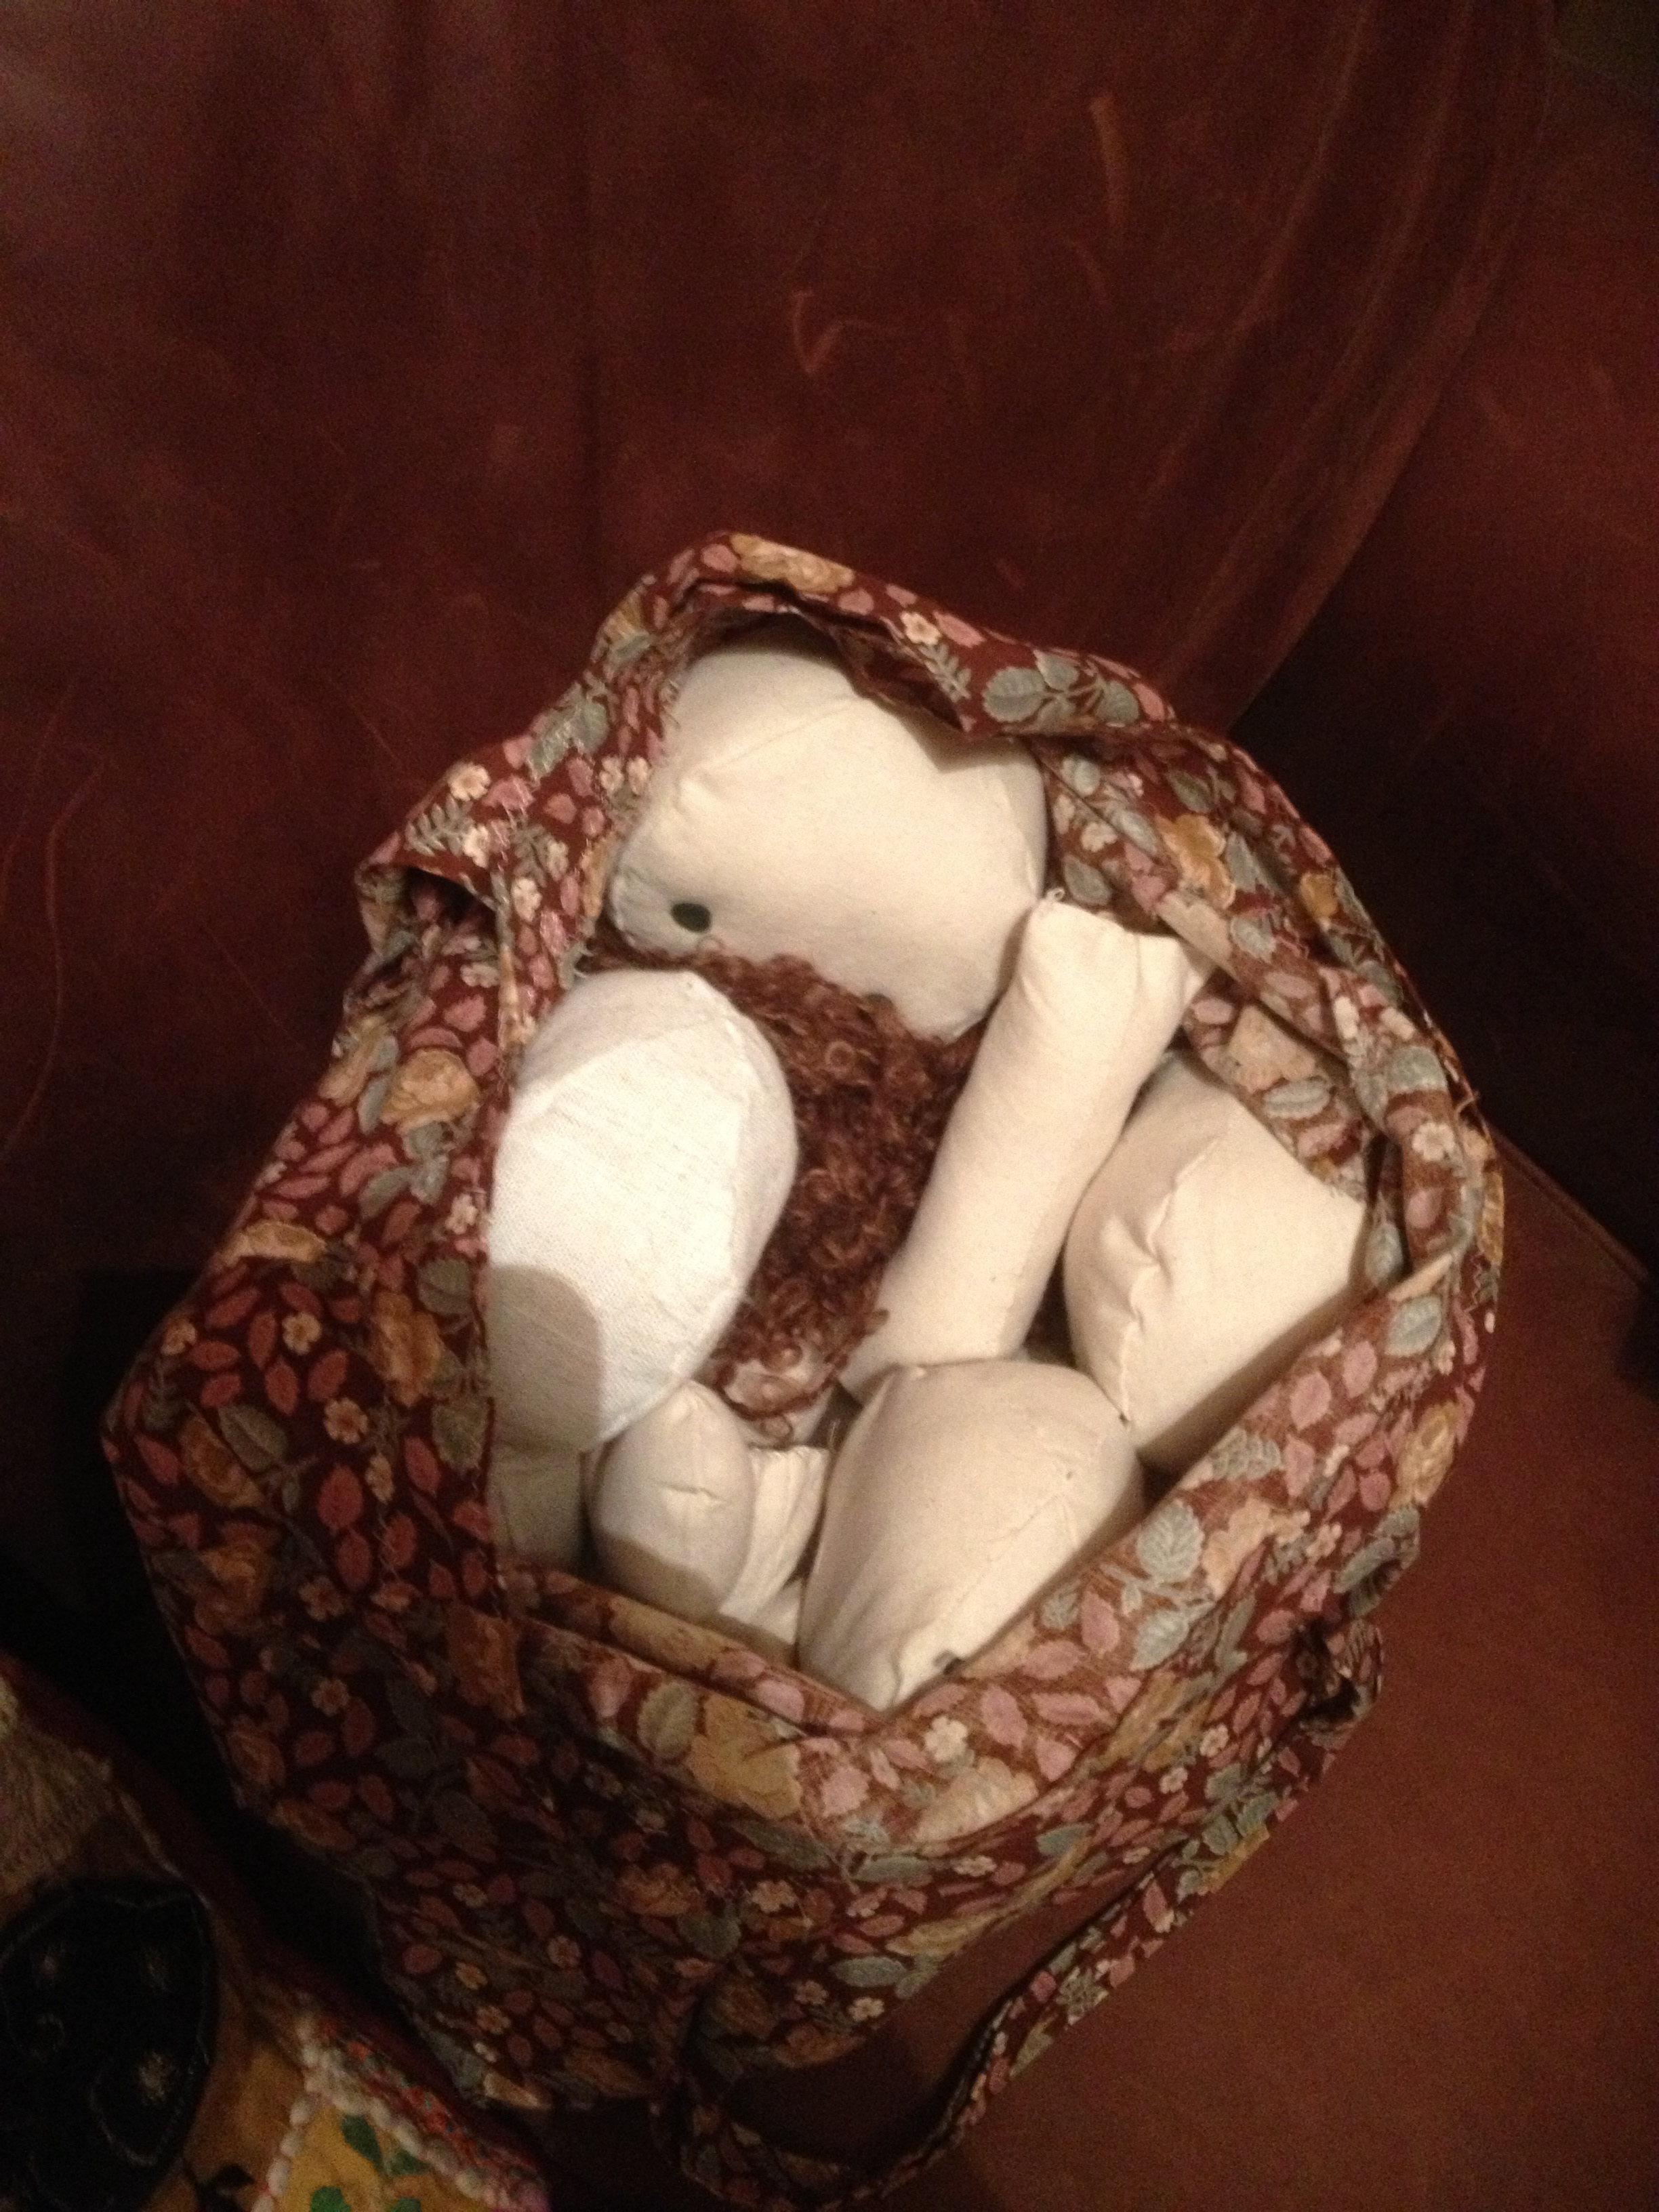
I have a group of friends who meet together ever so often to learn how to knit, or crochet, or to drink a lot. On the first such meeting, I took along all the arms, legs and torsos that needed to be sewn on. I don’t recommend sewing on legs and arms when you’ve had a few sherries. You’d be amazed how wrong you can go.
Here’s a quick walkthrough on how to make the perfect doll for your little princess.
1. Collect materials. In this case, the most important is the pattern. But fabric and thread is pretty important, too.

Basic stuffing
You’ll note the chopstick? A great trick for turning long legs the right way out after sewing them.
2. Sew your doll together and stuff it. Don’t sew it wonky (deformed dolls are less loveable, unless you watched that cartoon from the nineties…). Don’t sew it the wrong way round. Don’t sew yourself to the machine.
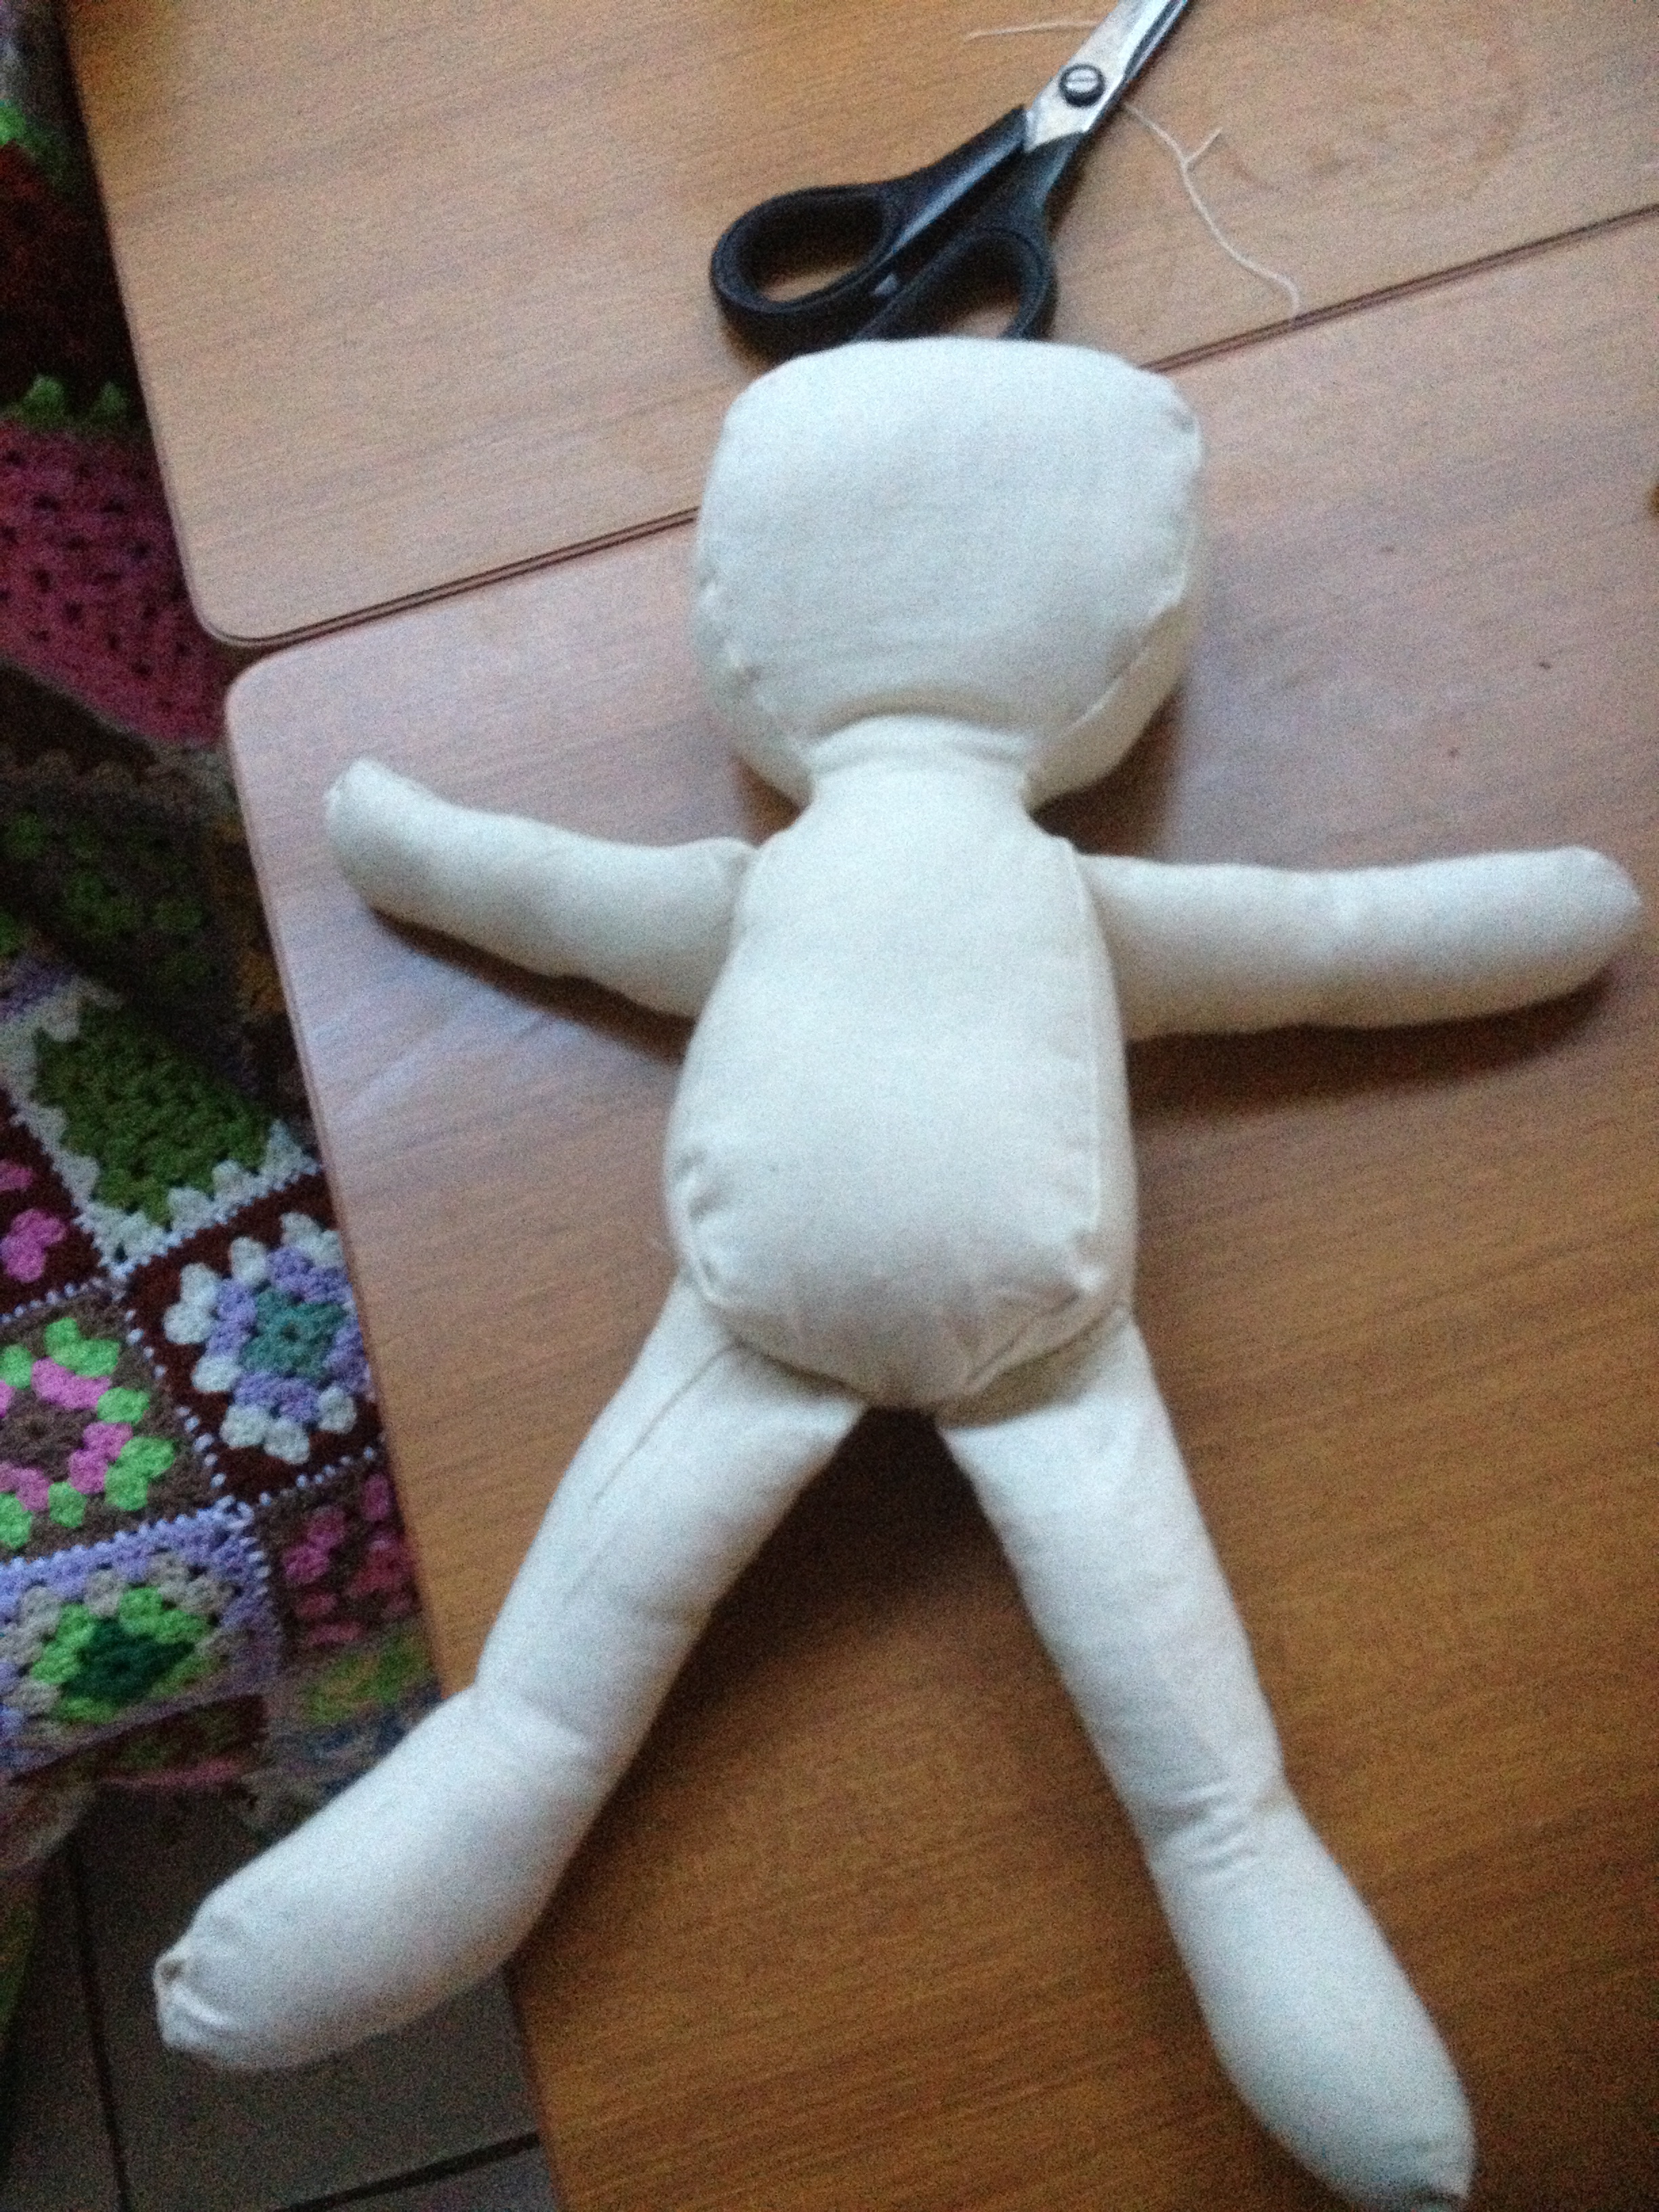
Naked baby
3. After stuffing your doll, sit back and bask in your own wonderfulness. And, give it a cuddle. Feel its chunky little head. Too cute.
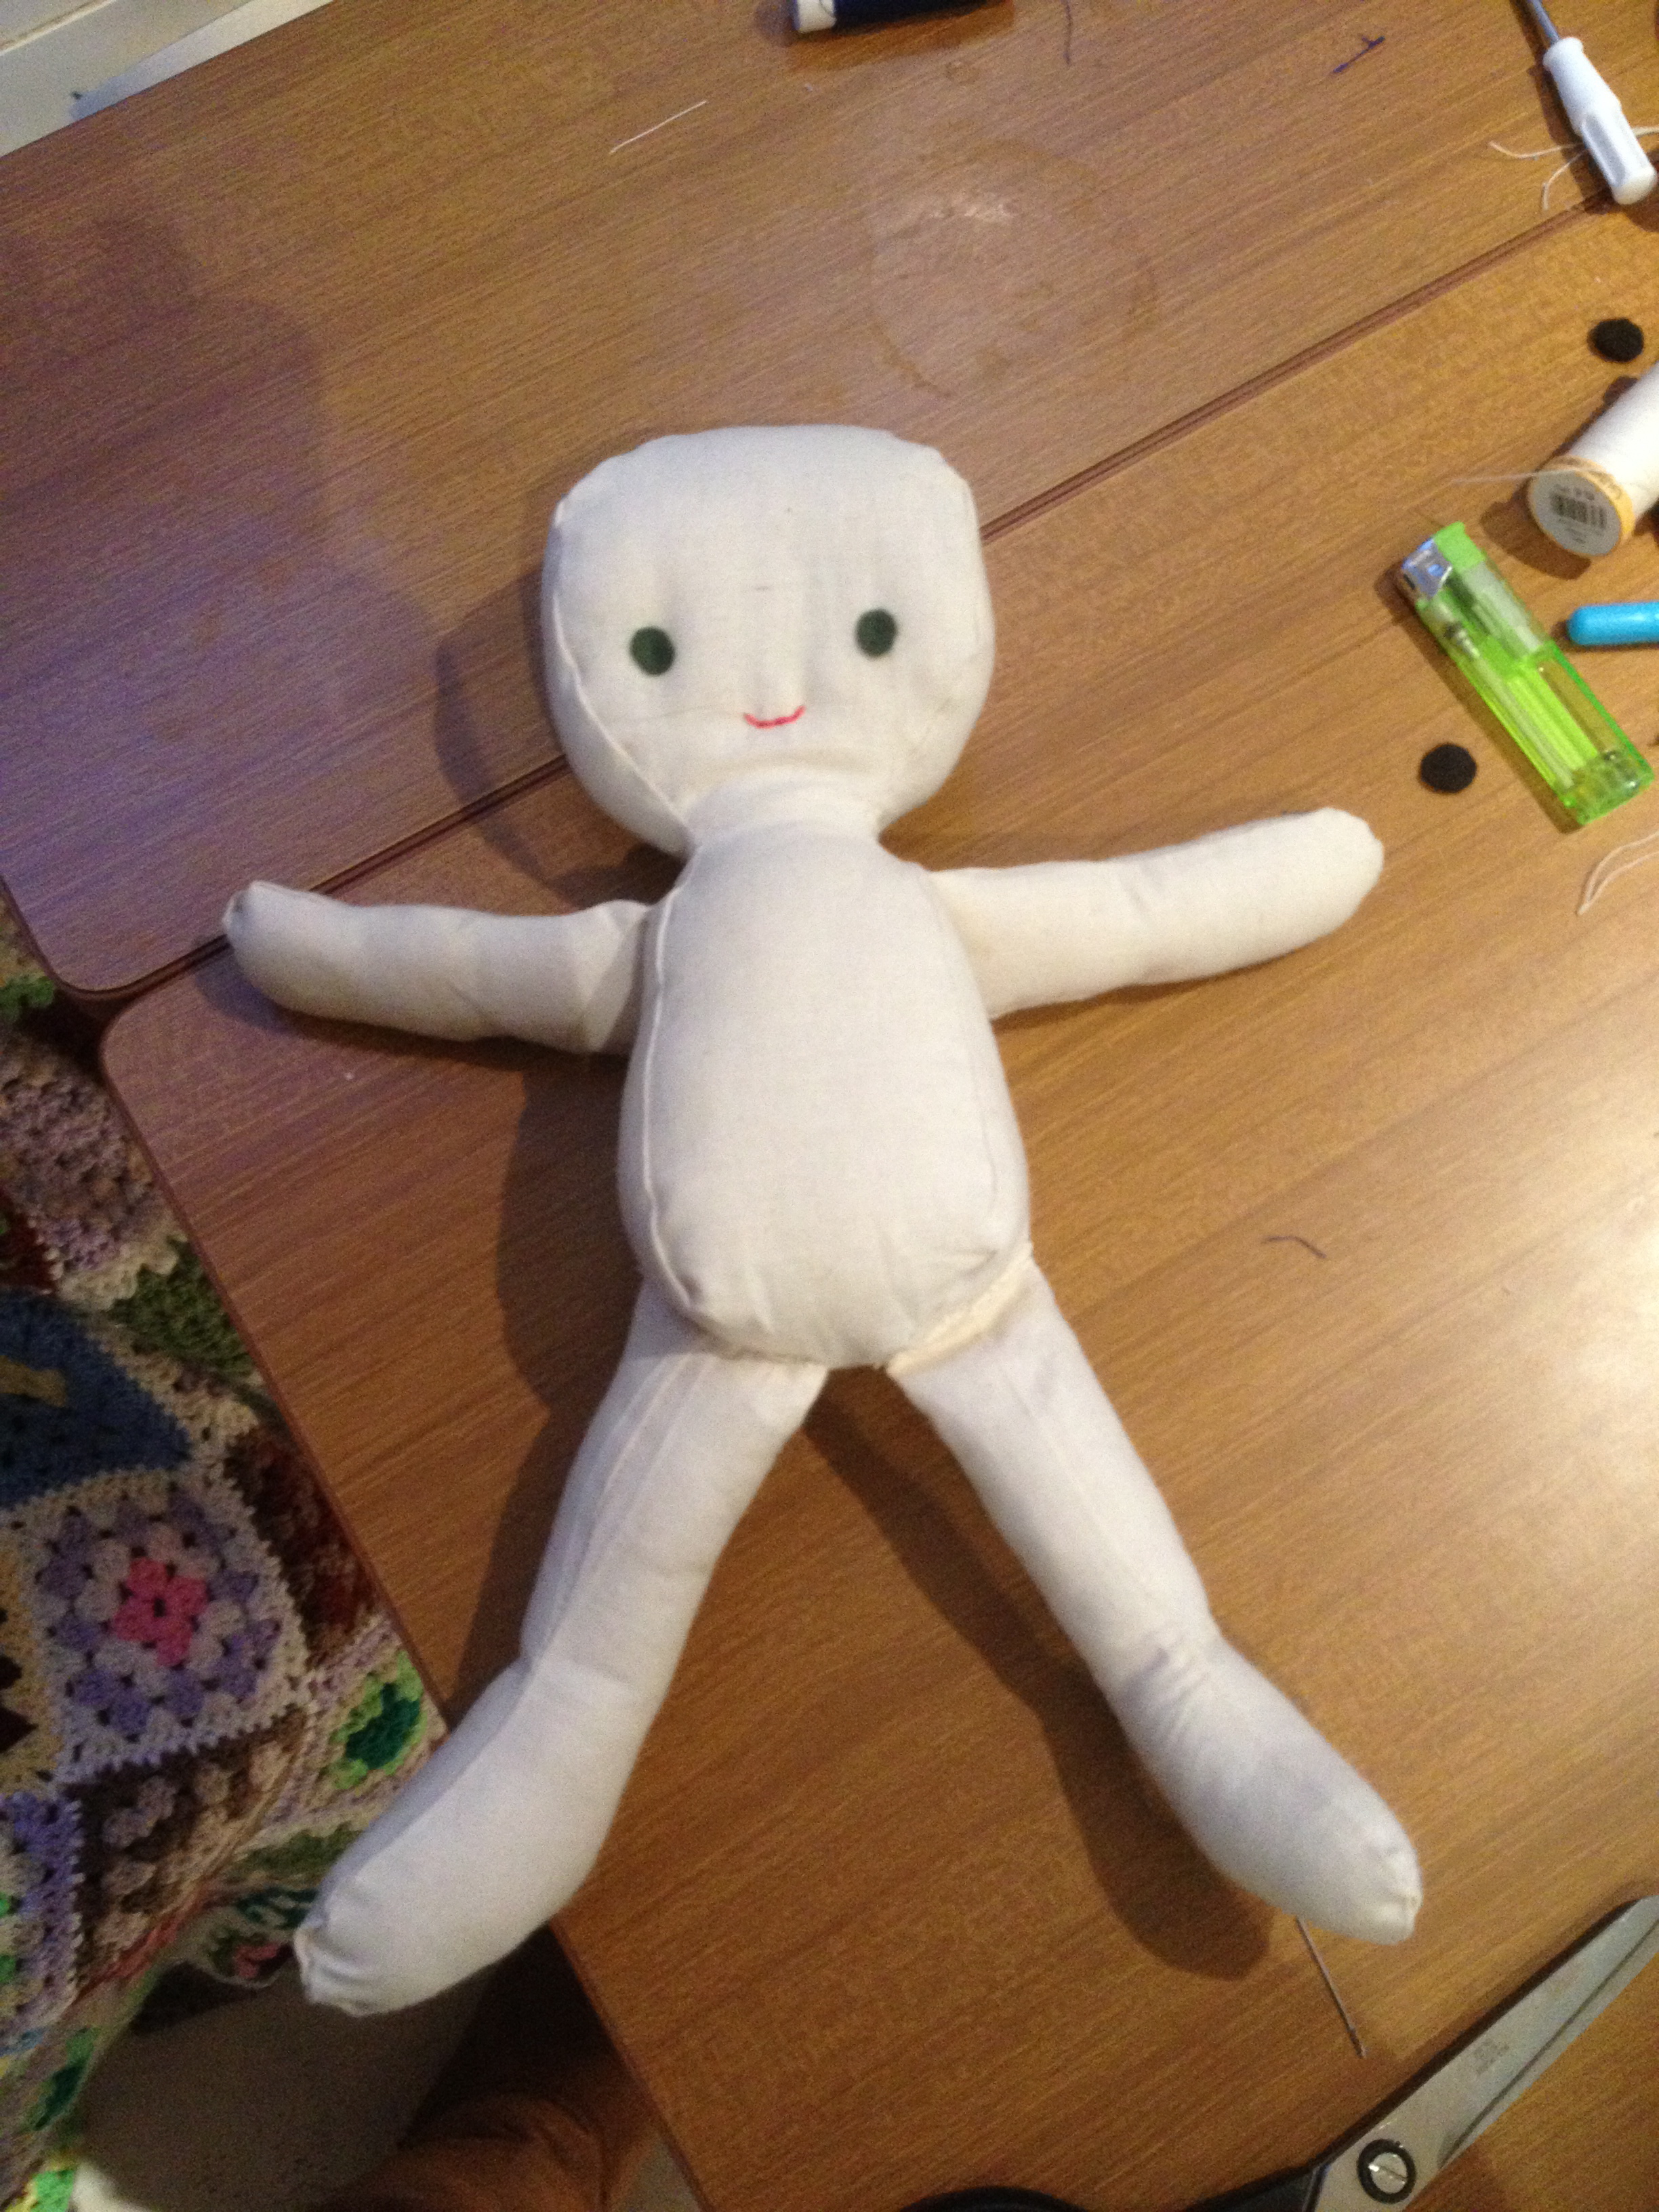
4. The face on the pattern is just so cute. And super-easy. Simple smile. Round, felt eyes. The only issue here, is that the stitches come out of the back side of the head. You might remedy this by sewing the face before you attach all the pieces together, but the pattern doesn’t recommend it – you might end up with a wonky face.
5. Add hair. This is my least favourite bit, and I’ll tell you for why. It’s difficult. And you need patience. Ugh. Still, this mohair yarn is the exact curliness and colour of my LL’s hair… so I had to make it work!
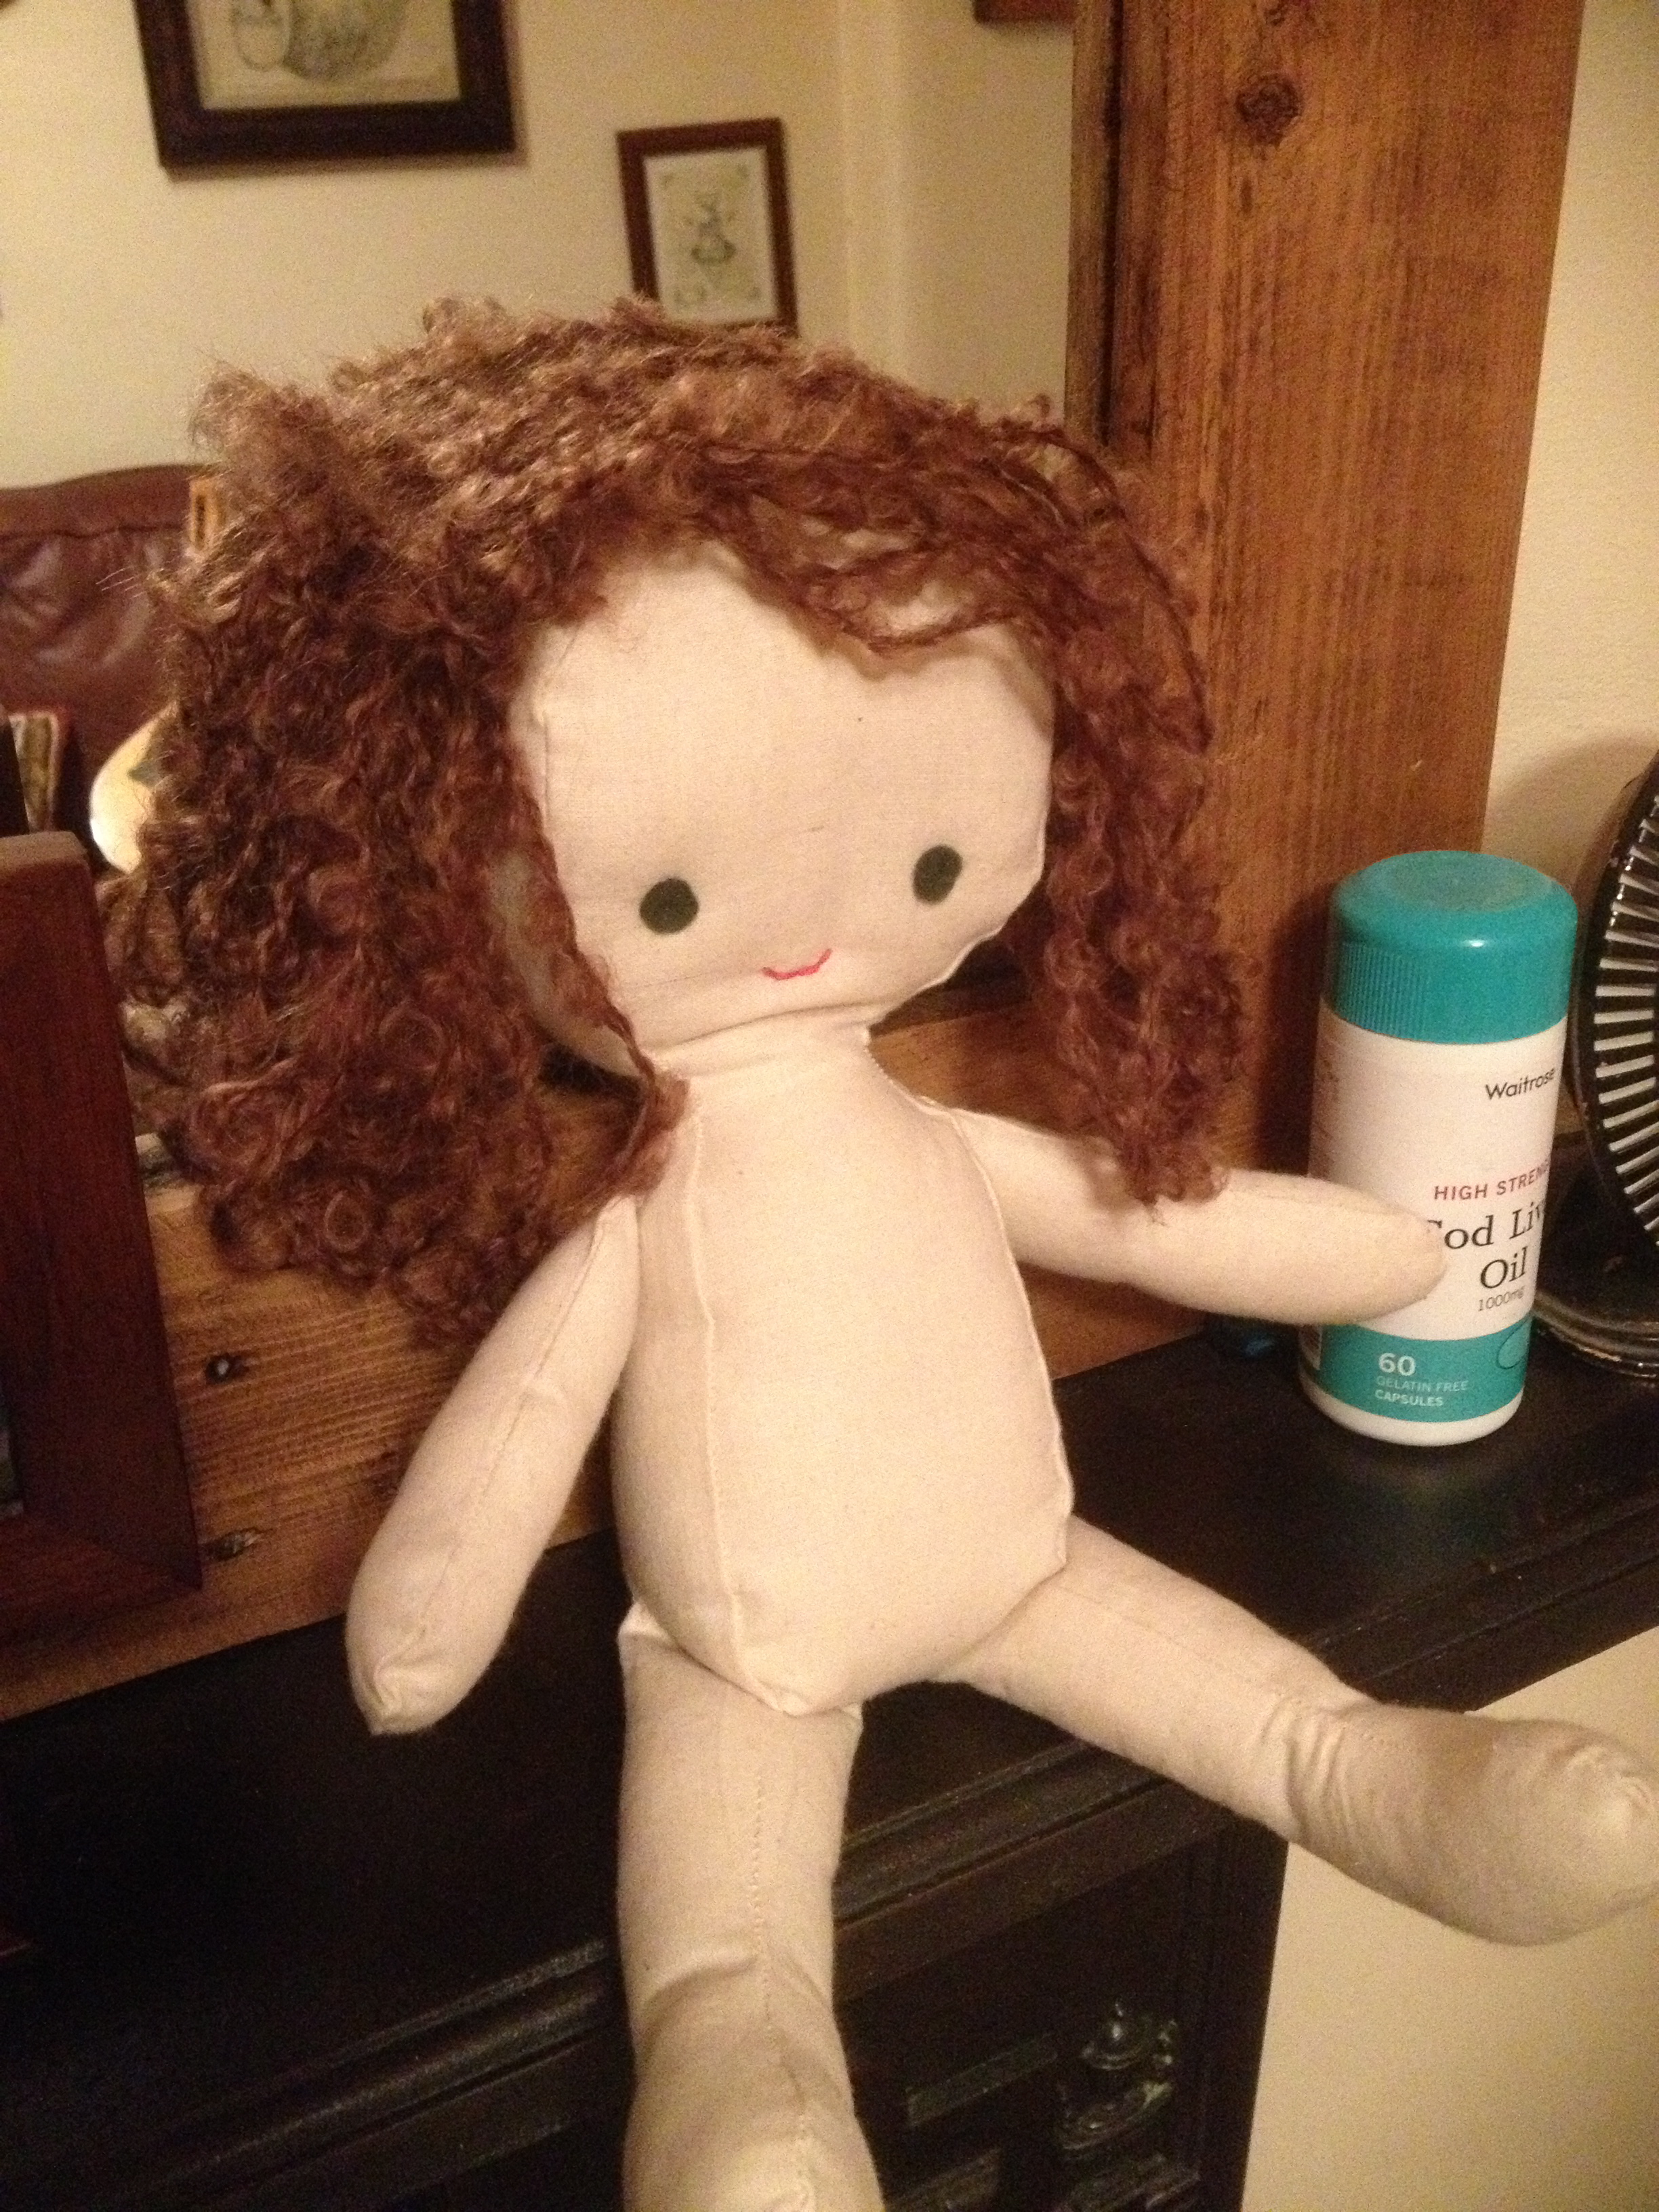
LL doll.
6. I mentioned in a previous post, how I didn’t know how to make clothes. The pattern really helps out, here, and I found the instructions invaluable as well as easy enough for a novice, like me, to follow. This doll has a little onesie under her dress – which is great because it masks those slightly drunken stitches around the legs and arms.

Lou Lou in her onesie
7. The dress was a little harder (thus, no photos of the process). You’ll see that I cheated round the hems, and added felt. This covered up the uneven, messy stitching – hems are fiddly at the best of times… they’re a lot harder when they’re teeny-tiny!
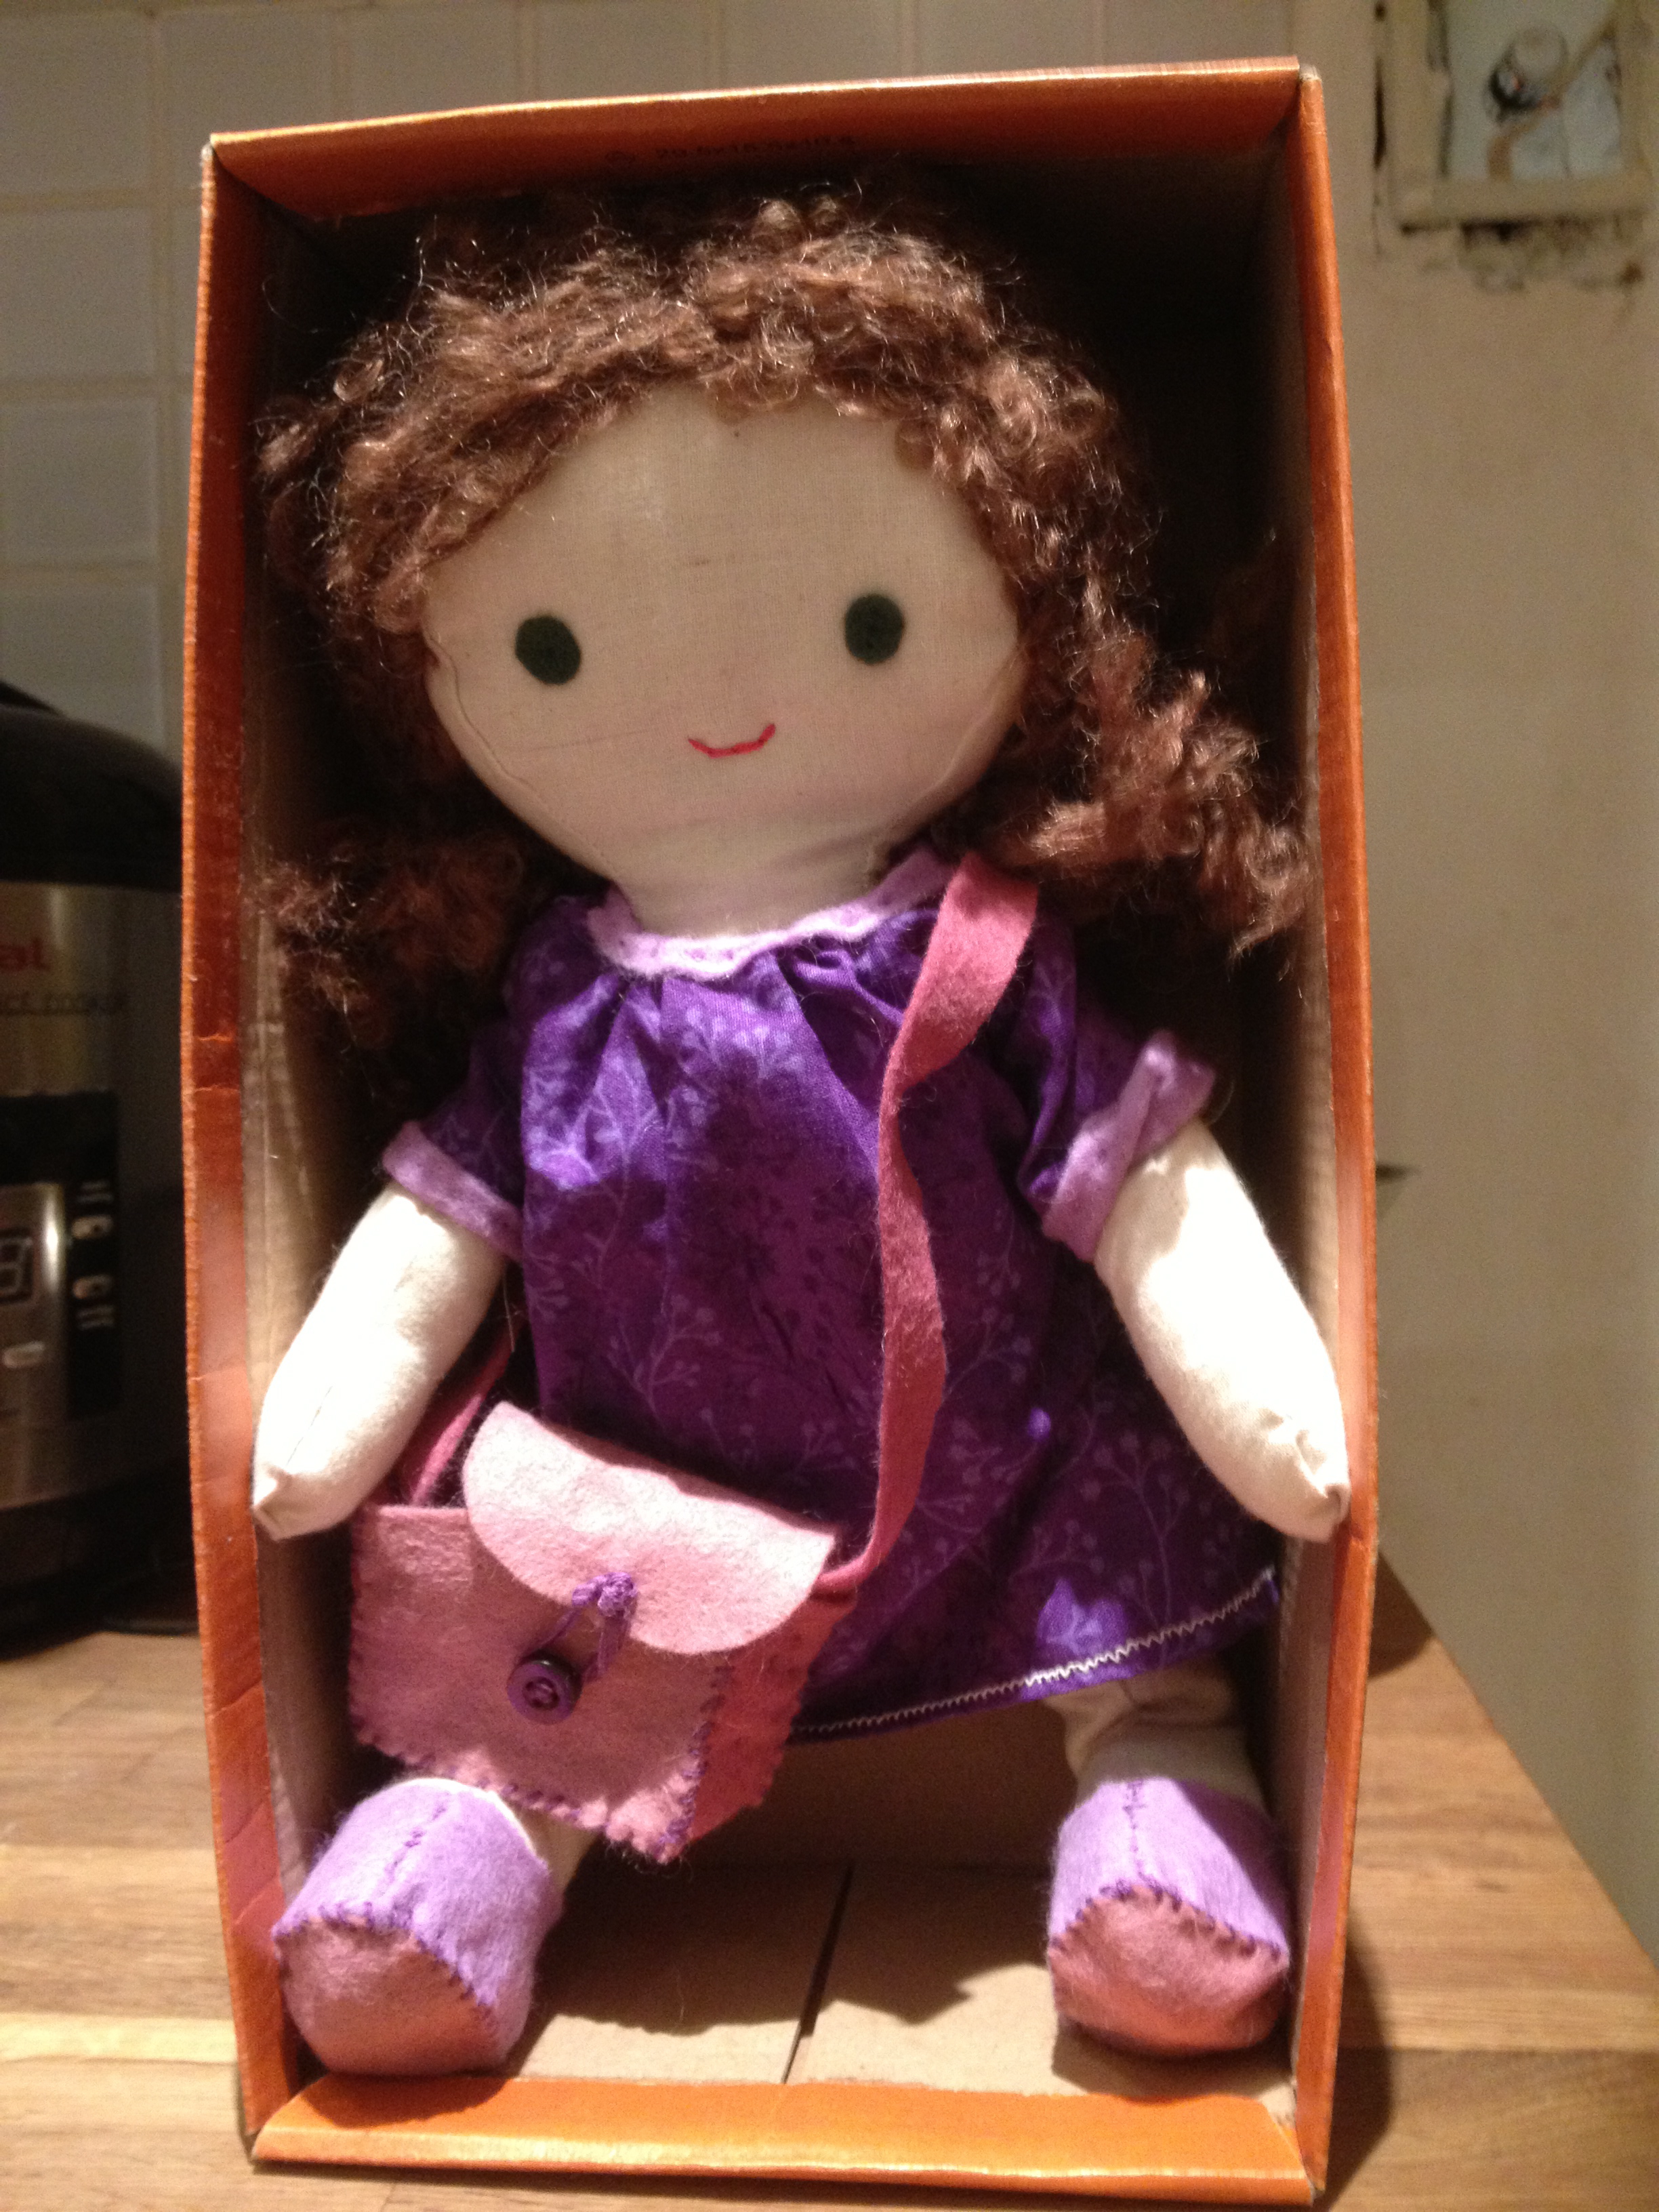
Lou Lou
To finish her up, I made her a little handbag out of felt, and a little notebook to go inside. In the end, probably a good thing, because that’s the thing LL loved about it most, when I gave it to her on her birthday. She immediately opened up the notebook and began to scribble in it. She tells me she wrote “I love this doll”.
Which made LittleBigSis, and me, cry.

I’ve made a bunch of these but have never made the undergarments so its nice to see a photo of them! Love the purple.
The face piece stitches aren’t meant to go out the back of the head. You are to pull the knots inside (traditional embroidery technique).
Ah Michelle! You’ve worked out what a novice I am! I’ve never embroidered before – will have to check it out. Thanks for your comment!